Unveil the best Philadelphia cream cheesecake recipe! Tips for smooth batter, perfect baking, and delicious results.
Discovering Philadelphia Cheesecake
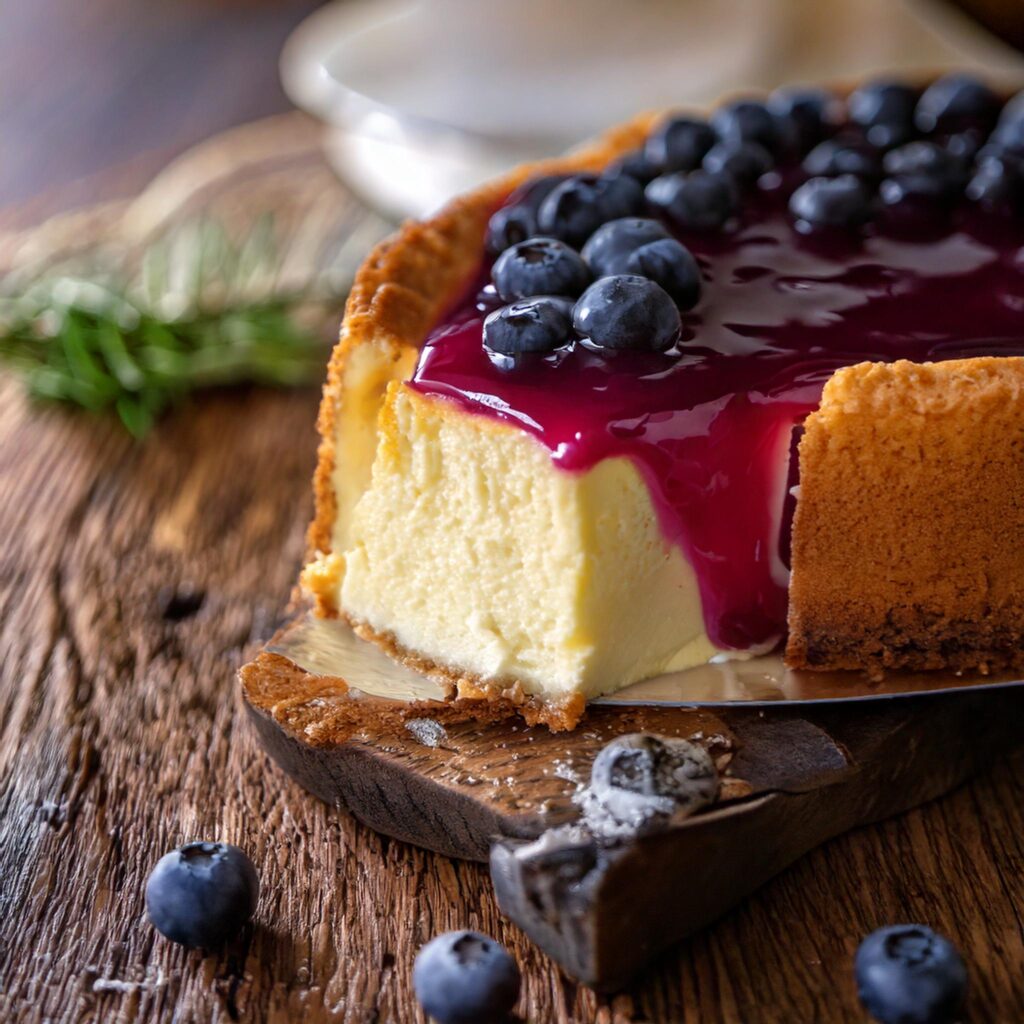
Philadelphia cheesecake is like that old friend who’s always a hit at the party. It brings a smile with its creamy texture and tempting flavor. Let’s get into what makes this treat so irresistible and how to keep your cheesecake dreamy and fresh whenever that cheesecake craving strikes.
Table of Contents
Creamy vs. Dense Cheesecake
Imagine a cheesecake boxing match. In one corner, we’ve got the smooth contender: Philadelphia cheesecake. And in the other, New York cheesecake, all dense and robust like it’s ready for the heavyweight title.
- Philadelphia Cheesecake:
- It’s the one with the fluffier feel.
- Cream cheese is its claim to fame, making it as light as a cloud.
- Perfect for those who love a gentle, creamy whisper of taste.
- New York Cheesecake:
- It’s so rich it practically comes with a bank account.
- Packed with sour cream or heavy cream to give it that rich punch.
- It is a full-bodied flavor experience for the severe cheesecake lover.
According to Foodess, the airy texture of Philadelphia cheesecake is like hugging your taste buds with every bite.
Storing Philadelphia Cheesecake Filling
Let’s talk preservation—a little wisdom goes a long way to keep that cheesecake luscious.
- Refrigeration:
- Stick it in the fridge and you’ve got about four glorious cheesecake-filled days.
- Airtight containers are your best friend here—keep those funky fridge smells out.
- Mark the date because we know time can fly by when dessert’s around.
- Freezing:
- Seal it up tight, and Philadelphia cheesecake can chill in your freezer for up to two months.
- Wrap in plastic wrap like it’s going to a cheesecake sleepover but in a bag.
- Give it time to wake up slowly in the fridge before you devour it.
Storage Duration Table
| Storage Method | Duration |
|---|---|
| Refrigeration (airtight container) | 4 days |
| Freezing (properly wrapped) | 2 months |
Are you curious about making your slice of heaven? Check out our Philadelphia cheesecake recipe for the play-by-play. If you want a few extra secrets, our Philadelphia cream cheese cheesecake recipe has the goods.
By knowing the scoop about creamy versus dense and storage smarts, you’re practically on the VIP list for creating a dessert adventure that anyone with a sweet tooth will rave about.
Preparing Philadelphia Cream Cheesecake Batter
Whipping up a Philadelphia cheesecake starts with getting that batter just right. This little guide walks you through, making it smooth like a dream and creamy to melt in your mouth.
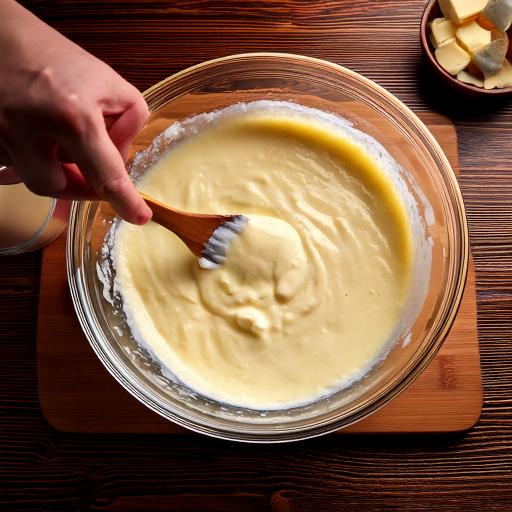
Achieving a Smooth Batter
No one likes lumpy cheesecake, so here’s how to keep it silky:
- Room-Temperature Cream Cheese: Ensure your cream cheese isn’t fresh from the fridge. Let it hang out at room temp so it melds without lumps.
- Mix with Care: Use a hand mixer to mix those ingredients nicely. If you go in with elbow grease, you’re asking for lumps (Taste of Home).
- Give It a Strain: Once mixed, run the batter through a fine sieve to catch any pesky bit.
- Blend Briefly: A quick spin in a blender can also work wonders for smoothness.
Here’s what you’ll need:
| Ingredient | Quantity |
|---|---|
| Cream Cheese | 4 packages (8 oz each) |
| Sugar | 1 cup |
| Vanilla Extract | 1 teaspoon |
| Large Eggs | 4 |
Tips for Creamy Texture
Want that rich, luxurious feel? Try these pointers:
- Add Cornstarch: A dash of cornstarch makes your cheesecake firm yet creamy and keeps pesky cracks away (The Kitchn).
- Gently Warm: If your Mix goes wonky or curdles, a little warm-up and a setting agent can save it.
- Easy on the Mixing: Overdoing it with the mixing can trap air, making it denser than you’d like. Just blend until it’s mixed nicely (Jane’s Patisserie).
Remember, the taste of your cheesecake depends mostly on how you handle the batter. With these tips, you’ll craft a cheesecake to make you proud. For a deep dive into creating the perfect batter, check out our complete Philadelphia cream cheese cheesecake recipe guide.
Baking the Perfect Philadelphia Cream Cheesecake
Who wouldn’t want a slice of cheesecake that melts in your mouth? Crafting a dreamy Philadelphia cream cheesecake isn’t as tricky as it seems. Here’s how to ace it every time.
Baking Time and Temperature
Getting the baking time and temperature right is super important for a cheesecake that impresses you at your next gathering. Preheat to 325°F (165°C)–the perfect sweet spot for even baking without those dreaded cracks. According to AllRecipes, you’ll bake until the center’s almost set, around 45 to 55 minutes.
Here’s a glance to make things easier:
| Oven Temperature | Baking Time | Center Consistency |
|---|---|---|
| 325°F | 45 – 55 minutes | Barely set, a little jiggle |
Are you using a water bath? That’s a neat trick to keep it uniformly cozy in there. It’s like giving your cheesecake a warm hug to say, “No worries, cracks ain’t getting through today!” Check out more on that in our water bath how-to.
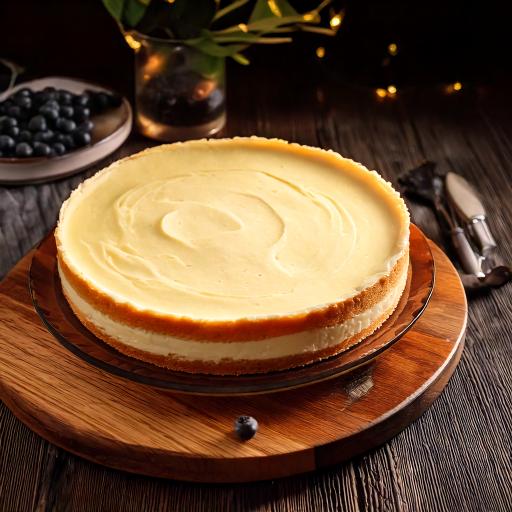
Cooling and Refrigeration Tips
Cooling your cheesecake right is as crucial as not eating too many samples while making it. When it’s done baking, switch off the oven and leave the oven door just a smidgen open. Let the cheesecake chill out in there for an hour to ease any temperature shock—it’s the cheesecake equivalent of slowly getting out of a hot bath into the cold.
After that, put it in the fridge for at least four hours. Overnight? Even better. According to Taste of Home, longer fridge time makes the flavors pop and gives you that smooth, creamy dreaminess you’re after.
Keep it fresh by wrapping it tight in plastic wrap, keeping it suitable for about 4-5 days in the fridge. If you’re planning, pop it in the freezer, and it’ll stay there for up to 2 months. Remember to let it return to perfect in the fridge before serving (Foodess).
Best Practices for Philadelphia Cream Cheesecake
Getting a grip on crafting the perfect Philadelphia cream cheesecake ain’t just a piece of cake. It’s more like a dance, where you must nail a few moves to score that velvety beauty everyone loves. So, let’s go through the secrets of the majestic water bath and tricks to dodge those sneaky cracks and browning.
Water Bath Technique
Imagine your cheesecake getting a lovely spa treatment—it deserves it, right? A water bath keeps it creamy and pristine. Even if you don’t see it in the recipe, throwing a water bath into the Mix can totally up your cheesecake game. The folks at Taste of Home’s Test Kitchen say it’s the go-to move for keeping those unsightly cracks away while giving it a smooth, heavenly look (Taste of Home).
The magic happens when you park your cheesecake pan inside a larger pan filled with hot water. This tender-loving-care approach ensures your cake doesn’t roughen up, leaving it smooth as silk—just like relaxing at a sauna, but sweeter (The Kitchn).
Steps for a water bath:
- Hug the springform pan with a couple of layers of aluminum foil to keep it dry.
- Drop that cheesecake-filled pan into a bigger roasting pan.
- Pour hot water into the roasting pan until it cozies up to the cheesecake pan about halfway.
- Bake as usual, allowing the cozy water heat to work its magic on your cake gently.
Preventing Cracks and Browning
Who likes cracks? Not on cheesecakes, for sure! Here’s how you can sidestep them like a pro:
- Don’t Overcook It: Keep an eye on it! Overcooking causes cracks. You want those edges to look a tad puffed and firm, but let the center have a nice wiggle like it’s grooving to a low-key tune.
- Chill Out Slowly: Let it cool slowly to avoid cracks. Turn off the heat and let your cheesecake hang out in the oven with the door open. This chillaxing session eases it into the cool down.
- Starchy Magic: Mix cornstarch into the batter to toughen it up a bit. It’s great for stability, adding more structure while keeping it soft—just the way people like it.
- Cool it Right: Once it’s done, the cake should hit the chill zone in the refrigerator for at least four hours. Overnight chilling? Even better! Your patience will be rewarded once it’s perfect to slice through (Taste of Home).
- Shrug Off the Stickies: To avoid sticking, grab a thin knife and run it around the pan’s inside edge before it cools down.
By keeping these tricks up your sleeve, you can whip up a Philadelphia cream cheesecake that tastes and looks like it came straight out of a dreamy dessert commercial. Want to know more about how to get going? Check our detailed Philadelphia cream cheese cheesecake recipe.
Troubleshooting Cheesecake Woes
Even the most experienced bakers can hit a few bumps on the cheesecake road. If you’ve been grappling with Philadelphia cream cheesecake mishaps like a mix that just won’t cooperate or filling that turns out runny instead of dreamy, fear not! Practical fixes are on the way to rescue your dessert.
Tackling Lumpy or Curdled Messes
Nothing dampens the cheesecake spirit quite like a split or curdled filling. This often boils down to warm ingredients and going overboard with the mixing. When things heat up, your batter might go with a bit of cottage cheese on you.
- Go Full-Throttle on Fat: Make your creamy buddy the full-fat cream cheese kind, and let it chill to room temp for that velvety finish. Nailing the Philadelphia cream cheesecake (Jane’s Patisserie) is non-negotiable.
- Mix, Don’t Blitz: Too much mixing throws a party for air bubbles, making things split. Just pull ingredients together till they agree.
Quick Fix:
Warm things gently and introduce a hero called gelatin to bring back that smooth charm.
| Problem | Fix It! |
|---|---|
| Too Warm | Use room temp cream cheese |
| Over-Mixing | Mix till just right, not tonight’s cardio |
| Lumpy Mixture | Mild heat, invite gelatin |
For more baking tricks, peek at our guide on Philadelphia cheesecake recipe.
Solving Seized or Runny Situations
Struggles with mixtures either seizing up or playing too loose happen. If chocolate clashes with cream cheese at the wrong temperature, you’re in for choco-boulders.
You Got Seized
- Master the Temps: Melted chocolate and cream cheese has to be on the same wavelength (Jane’s Patisserie).
- Smooth Operator: A little warmth can convince those lumps to back down.
When It’s Melting Away
A puddly cheesecake might result from poor mixing or flimsy cream cheese. Some soft varieties hold too much water, making the cake squishy.
- Whip It Right: Aim for the perfect thick consistency. Over-whipping brings air—save it for your balloon animals.
- Stick to Firmness: Full-fat, sturdy cream cheese is your ride-or-die here. (Jane’s Patisserie)
Quick Fix:
If things stay liquidy, add a setting agent or freeze it into a dreamy cheesecake ice cream instead.
ProblemFix It!
| Problem | Fix It! |
|---|---|
| Seized | Gentle warmth and chocolate’s your friend |
| Runny | Go firm with your cheese and call for a setting agent |
For more assistance, dive into our deep guide on Philadelphia cream cheese cheesecake recipe.
With these tricks up your sleeve, you’ll be navigating cheesecake conundrums like a pro, turning out slices of rich Philadelphia cream cheesecake goodness every time.
2 thoughts on “Whip Up Delight: Best Philadelphia Cream Cheesecake Recipe Unveiled”